
Construction of distilled water runoff
This is the latest instalment of what is intended to become DIY plans for a solar water distiller. This is the previous post:
https://bkhome.org/news/202001/distiller-painting-inside-and-out.html
Now for the distilled water runoff. Water will trickle down the glass
and at the bottom will flow into a channel, which will be on a slope,
at the end of which will be a tube, taking water out to a collection
bottle.
With earlier prototypes, an ongoing problem I had was the reluctance
of the water to flow down the channel and into the tube. Water has
surface tension, causing it to bead and stay where it is, then maybe subject to re-evaporation. To encourage
the water to flow down the channel, it needs sufficient slope, of
sufficient channel width, and sufficient pipe internal diameter.
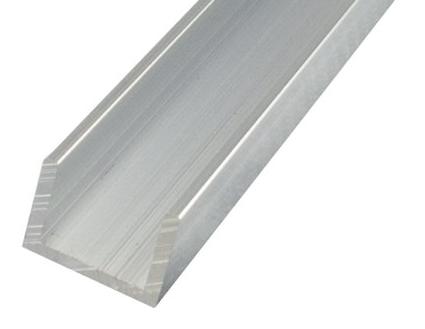
What I chose for the channel is 10x10mm aluminium channel, 1.5mm
thick, so the internal width is 7mm. from previous experience, I do not
think it should be any narrower than this. Actually, I selected this
channel as I already had it in the garage. I had purchased it from
Bunnings, intended for an earlier prototype:
https://www.bunnings.com.au/metal-mate-10-x-10-x-1-5mm-1m-aluminium-channel_p1079292
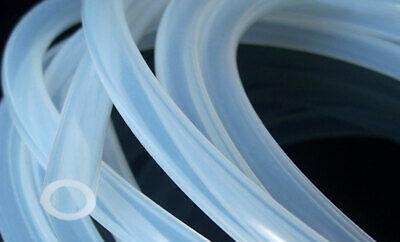
I think that there is silicone channel available on eBay, so that would be an alternative.
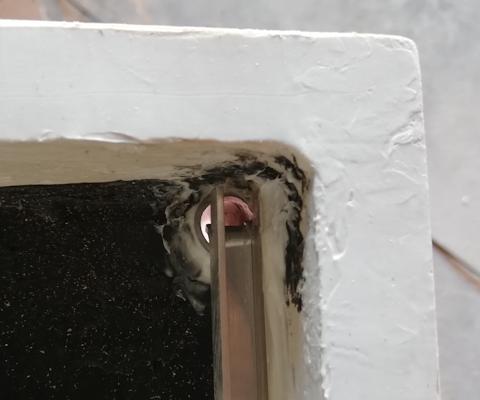
What I did was cut it so that it can be inserted into the distiller
with maximum slope, and with a bent lip at the bottom end to encourage
runoff into the pipe:

...on the right-end you can see the bent lip, and on the left-end the
side walls have been cut, such that the channel is only 2mm deep at the
very end. I used a very coarse file to rough-up the three outside
surfaces, to optimise adhesion of the sealant. Here it is inserted:

...glued to the side of the distiller with silicone sealant. And
there is one important detail -- the outlet tube has to be put in place
first.
For the outlet tube I used 12x15mm silicone tube. This has internal
diameter 12mm and outside diameter 15mm, so a 1.5mm wall thickness.
Note, I had earlier bought 12x14mm tube from eBay, with 1mm wall
thickness, which is OK but tends to kink very easily. The tube with
1.5mm thickness was purchased from here, AU$13.08 for 2 metres:
...for anyone building this distiller, 1 metre should be enough.
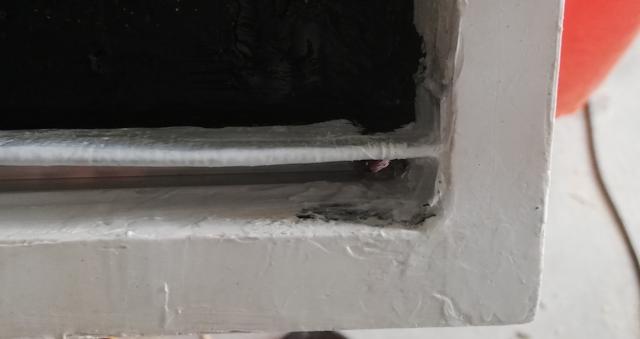
Of course, the tube has to be glued into the hole in the floor with
silicone sealant, such that no water can seep out on the sides.
Here are some close-ups at each end:
To finish off, a plate has to be glued in front of the channel, to
separate the water that is in the basin. Something fairly rigid is
required, that will not absorb moisture and will tolerate up to 90
degrees C. It might be possible to use sheet silicone, with reinforcing
glued to it, such as this sheeting:
However, I already had something from an earlier experiment. I had
experimented with coating aluminium insect screen with silicone sealant,
as reported here:
https://bkhome.org/news/201911/first-coating-silicone-on-aluminium-mesh.html
...that was a big area, but all that you need is a small strip of
aluminium insect screen, about 50x670mm. I cut a strip off my big
piece, and folded one side to give more rigidity. I also created small
90 degree flanges on each end, to aid with glueing.
I installed it in two steps. Firstly, glued it to the aluminium
channel, with silicone sealant, held in place by a piece of wood, and
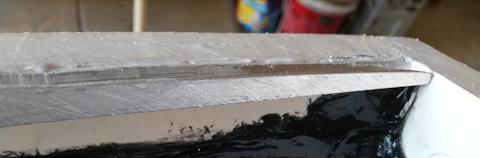
allowed to set overnight. Next day, applied black sealant along the
bottom. Here it is:
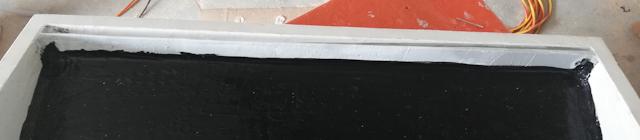
...the top edge is folded so is fairly rigid. Notice the height is
almost the same as the wood frame -- there will be foam strips stuck on
top, so the glass will sit about 4-5mm above the wood frame -- so there
will be a gap for the water to flow down. Here are close-ups:
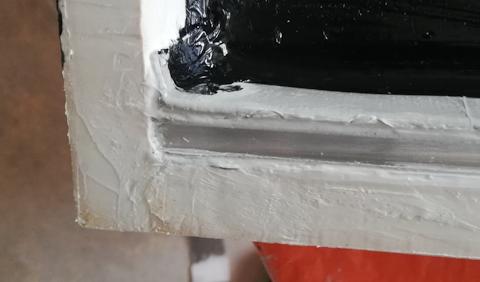
There is an air-gap underneath the channel, which will serve as
insulation. Air will of course expand as it heats, and as it is
completely sealed in, it will cause the wall made from aluminium insect
screen to flex. Even at the runoff-end of the channel, I put plenty of
sealant, so there is no air-connection with the outlet tube -- I did not
want moist air getting into that cavity, as it would become a breeding
place for pathogens.
I anticipate the change in air pressure to be OK, but could drill a tiny
breather hole through the wood frame into the cavity, if desired --
think that is over-engineering though.
Shopping list:
| Silicone tube 12x15mm x1m |
AU$7.61 |
| Aluminium channel 10x10mm x1m |
AU$5.50 |
| Aluminium insect screen 760mm x1m |
AU$11.50 |
...or scrounge a small strip of insect screen from somewhere, such as a scrap yard.
Stayed tuned for the next episode!
Tags: nomad