
Distiller painting inside and out
What will eventually become DIY plans for building a solar water
distiller has another instalment. Here is the previous post, to follow
the chain of posts:
https://bkhome.org/news/202001/distiller-diy-floor-construction.html
I used slightly-off-white exterior acrylic paint on the outside, two
coats. Did not coat the top edge of the frame, where the glass will sit,
as that will have to be coated with silicone sealant -- and want the
sealant to be spread directly onto the wood, for maximum adhesion.
Note, the paint that I used was just an old tin in my garage. It is
Taubmans Sunproof exterior self-priming acrylic, designed to go directly
onto raw wood, no primer required.
Oh, one thing, I decided to reinforce the plywood floor of the basin.
It is 6mm marine ply, and feels quite rigid, but I had some strips of
pine that had been cut in earlier projects, so decided why not. Here
they are, glued on with silicone sealant:
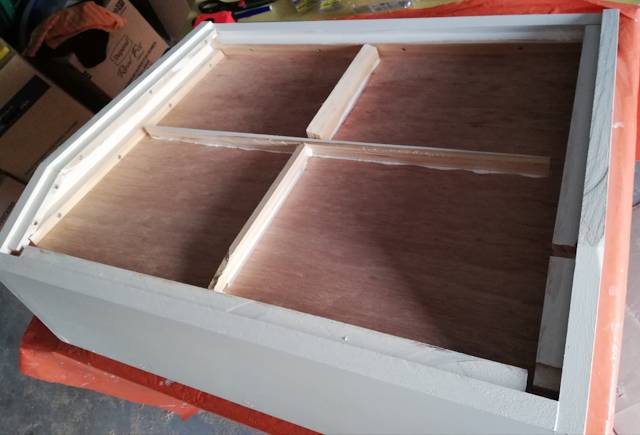
...with that long piece, I also put three 6G 20mm screws from the
other side, just to be sure the ply won't lift off the wood strip. The
photo also shows the white-painted outside.
To spread the silicone sealant, need to buy sealant of course, and
also spreaders. The sealant is Admil Prosil 10 neutral-cure silicone,
rated as "food safe", and I purchased two white tubes and two black
tubes. I bought them online, from these guys:
https://www.indrub.com.au/prosil-10-100-neutral-silicone-300g-cartridge.html
The manufacturer's site:
https://silicone.com.au/product/prosil-10/

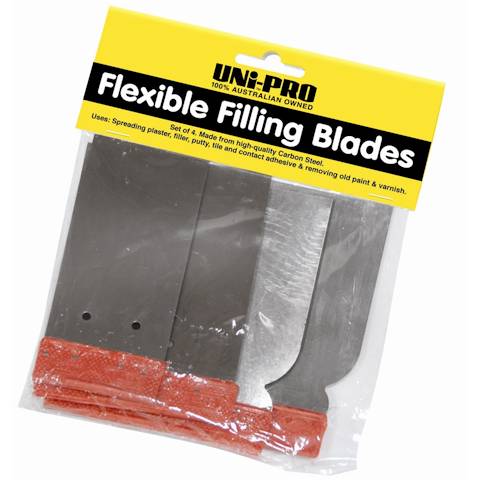
The spreaders were purchased from Bunnings. These flexible steel blades were good for doing the inside sides of the distiller:
https://www.bunnings.com.au/uni-pro-4-piece-filling-blade-set_p1670761
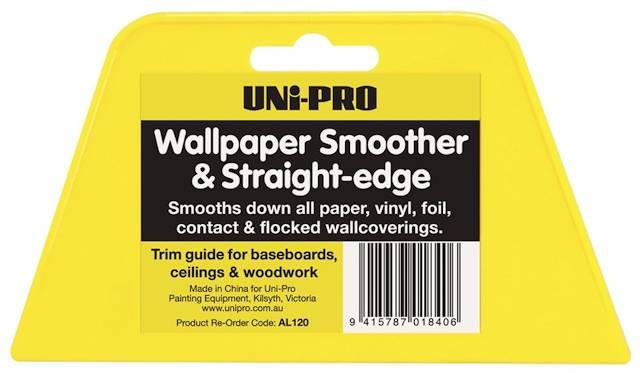
For spreading on the floor of the basin, I used this large plastic flexible spreader:
https://www.bunnings.com.au/uni-pro-wallpaper-smoother-and-straight-edge_p1661659
I used the steel spreaders to spread the white silicone on the walls.
Did it in two goes, firstly just the walls, then the next day did the
top-edges of the frame, and touched up on the walls. Here is a snapshot
after the first coat:
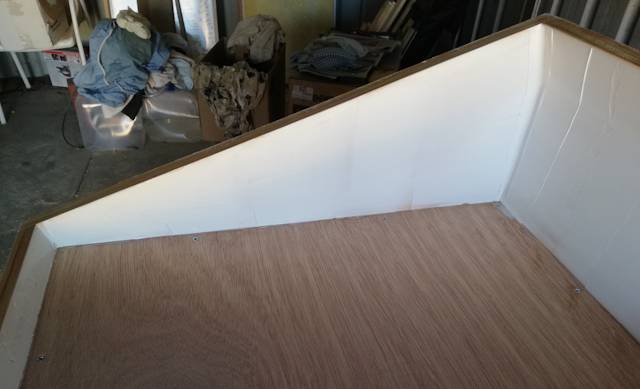
...you can see some thin spots, so it definitely needed going over a second time.
Note: please do wear disposable latex gloves when spreading silicone
sealant, and a well-ventilated room. An old cloth to wipe the spreaders
is also required.
Now for the floor, which will be black. I did this in three goes. Firstly, around the edges:
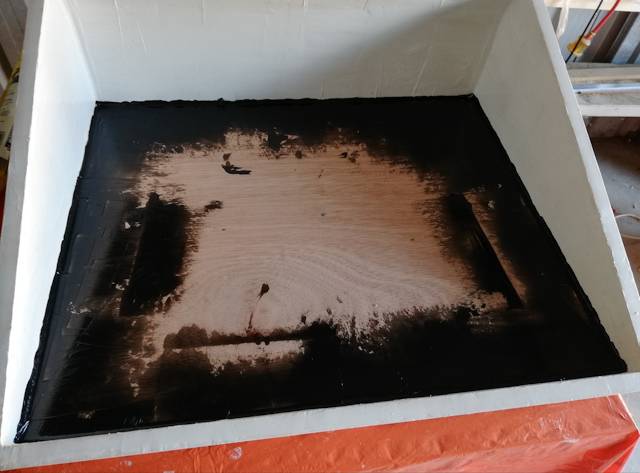
The next day, spread the rest of the floor. The basic technique is to
zig-zag the sealant thickly over the floor, then drag the spreader,
fairly firmly pressed. On the third day, did another coat to cover some
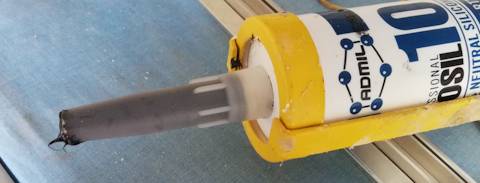
thin spots. To achieve a fairly thick extrusion as I zigzagged onto the floor (ditto for the first-go, extruded thickly around the edges), the nozzle was cut well down from the tip:
Here is the shopping list:
| Prosil 10 silicone sealant, white, 300g tube |
2x AU$10.62 |
| Prosil 10 silicone sealant, black, 300g tube |
2x AU$10.62 |
| Flexible steel spreading blades, 1 set |
AU$7.32 |
| Large plastic spreader |
AU$2.48 |
The next step will be to construct the distilled water runoff, and holes in the floor for water inlet and outlets.
Tags: nomad