 |
Field test #4: GPS & camera |
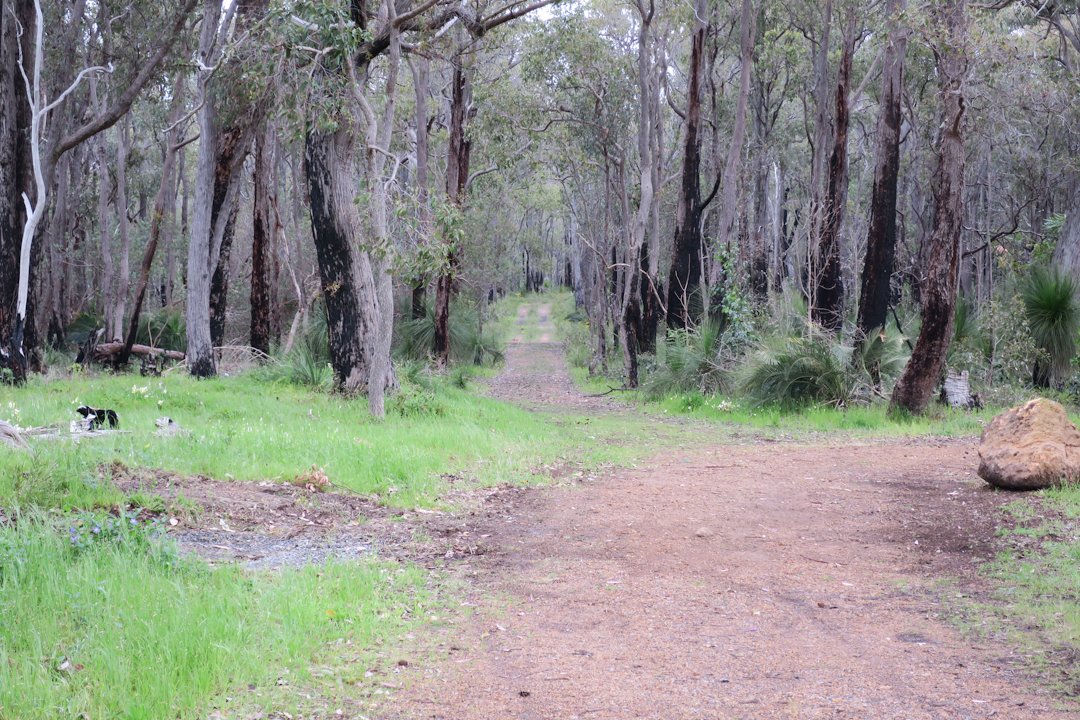
| By Barry Kauler Page created: October 11, 2016 This is one page of a series that I am writing on "traveling light", whether it be hiking in the wilderness or wandering the world by boat, bus, train or air. The morning of October 7, 2016, I set off on another overnighter. The purpose this time was to test the AlpineQuest GPS app in my phone, and experiment with my new Canon G9X camera. Plus, I wanted to load up my backpack with everything that I would need for a multi-day hike, to see how well I can carry the load. I caught a bus to the town of Mundaring, in the hills just outside of the city of Perth. My plan this time was to walk down the Mundaring Loop Trail, to Mundaring Weir, camp overnight, then walk back to Mundaring along the Munda Biddi Trail. My Zpacks Arc Blast backpack, fully loaded with about two days of food and water, weighed just under 7.5Kg. No further details on that for now, just describing the walk... The Mundaring Loop Trail starts at the dead-end of a road, however it is not signposted, and there are three tracks leading off from the road-end: |
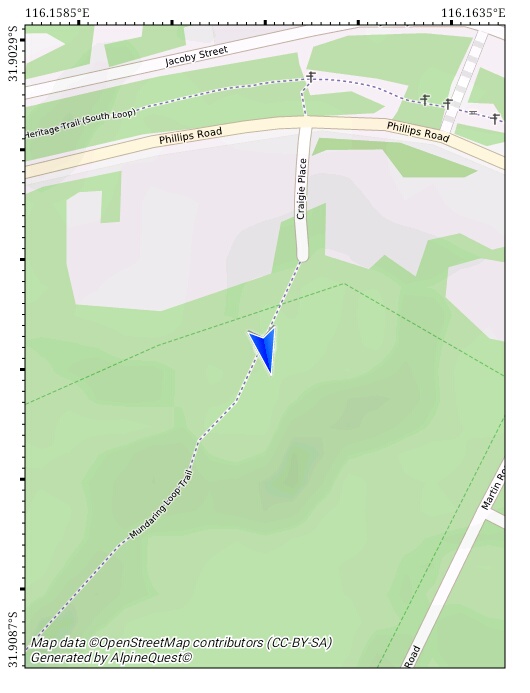 Ah hah, this is where I
get to test the new AlpineQuest app. As the photo on
the right shows, it identified that I had chosen the
correct track. Ah hah, this is where I
get to test the new AlpineQuest app. As the photo on
the right shows, it identified that I had chosen the
correct track.It turned out that this GPS app was essential, as the Mundaring Loop Trail is not signposted anywhere, and there are myriad tracks branching and intersecting. Most of those other tracks were not marked on my GPS app. I introduced AlpineQuest recently on my blog: https://bkhome.org/news/201610/offline-gps-tracking-with-phone.html Here is a recommendation for AlpineQuest on an Australian bushwalking forum: http://bushwalk.com/forum/viewtopic.php?f=21&t=24062#p310421 Hah hah, actually, there are a few signs, but the lettering has gone, leaving only the concrete: |
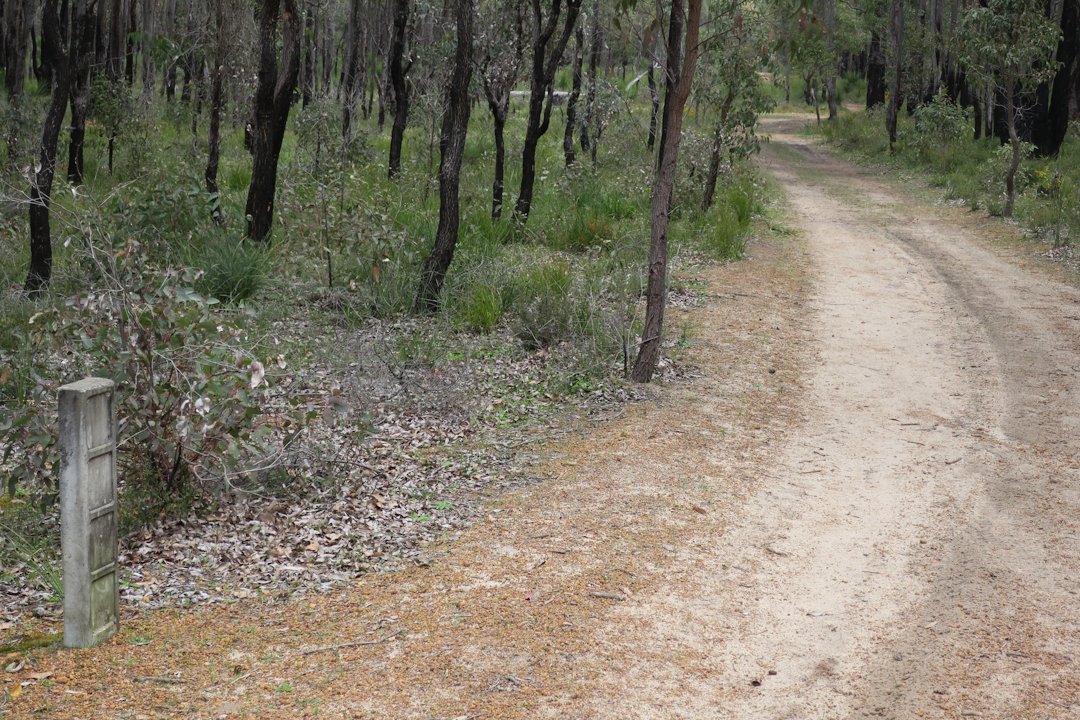
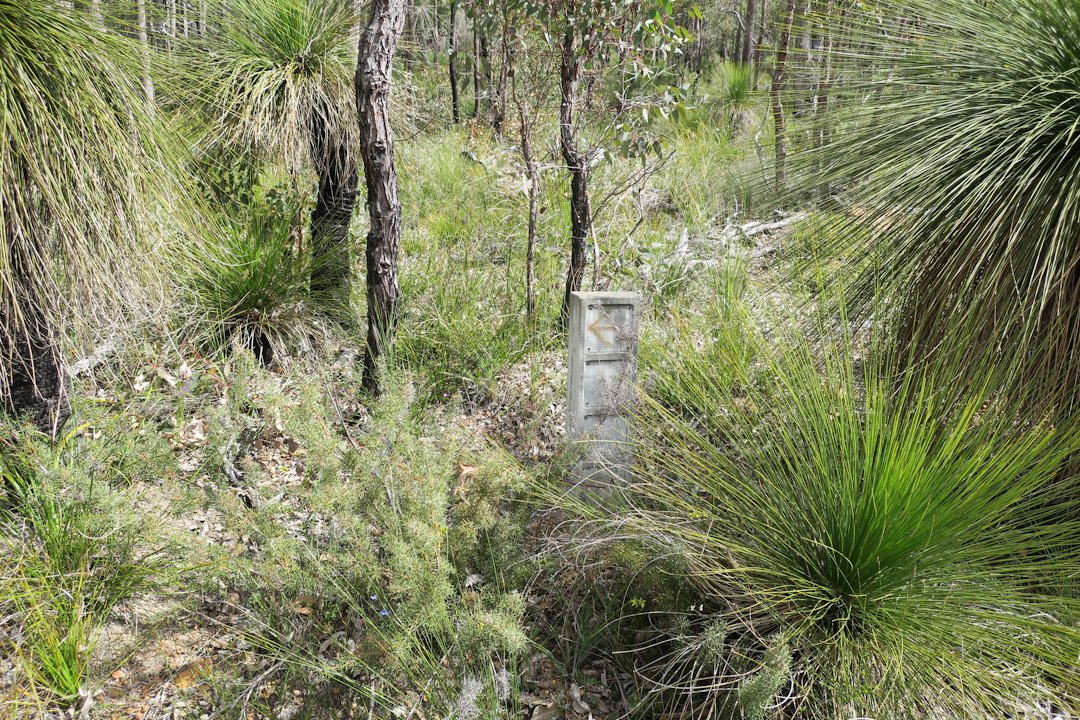
| Another one of these concrete,
non-signs, though in this case someone has kindly
drawn an arrow on it to show which way to turn: |
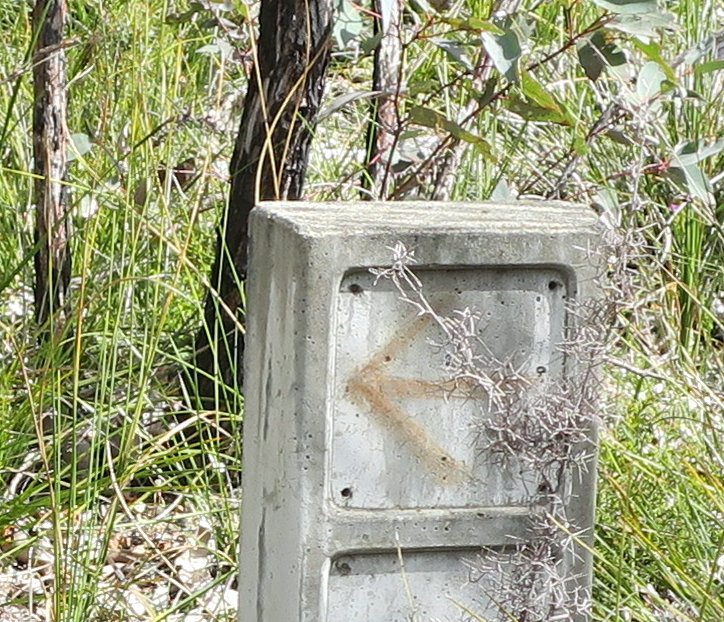 The above photos have
been scaled down from the original 5472x3648 pixels
(20 megapixels) to fit this web page. These are all
JPEGs, saved at a quality-factor of 85% when scaled
down. The above photos have
been scaled down from the original 5472x3648 pixels
(20 megapixels) to fit this web page. These are all
JPEGs, saved at a quality-factor of 85% when scaled
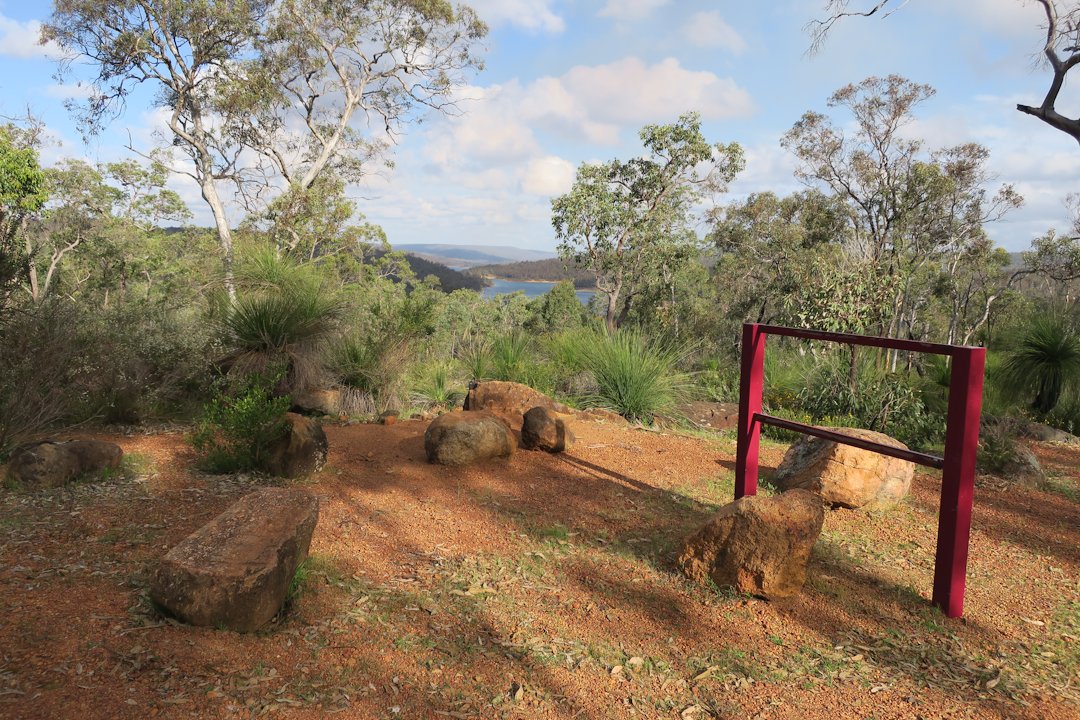
down.On the right is the original photo cropped to 724x622, to show the level of detail at the original size (though of course depending on the resolution of your screen, this might be scaled down also). So many intersecting tracks! Fortunately, the Alpine Quest app keep me on the correct trail. After walking for a couple of hours, I neared Mundaring Weir. On a ridge overlooking the Weir, another non-sign: |
| I kept walking in the general
direction of the small township at Mundaring Weir,
until, finally, an actual functioning sign!: |
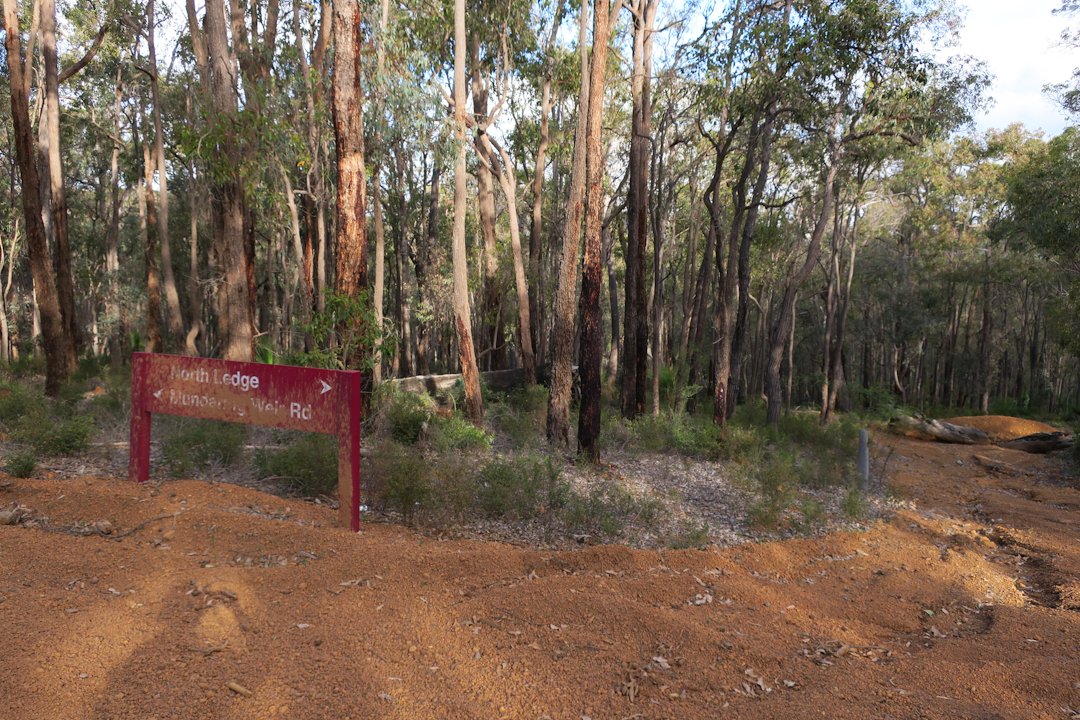
| The track heading downhill is blocked
off from vehicle access, and runs into the back of
the youth hostel. From there, it is a short walk to
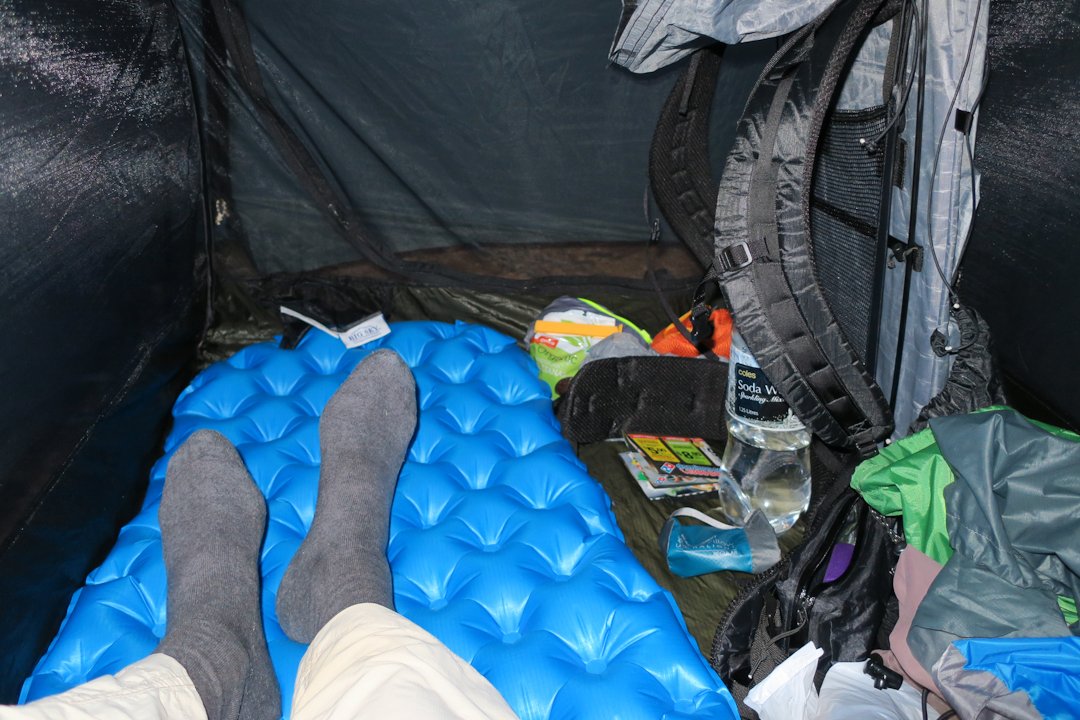
the hotel. Later that evening, when I had pitched my tent, I got to experiment further with the Canon Powershot G9X camera. The above shots were taken with this camera, but I was particularly interested in taking photos at and after sunset, to test that huge 1-inch CMOS sensor. This shot was taken inside the tent, after sunset, without flash, nothing special done, I just left the camera on "auto" and took the shot. It was quite dark outside, though it doesn't seem so in the photo: |
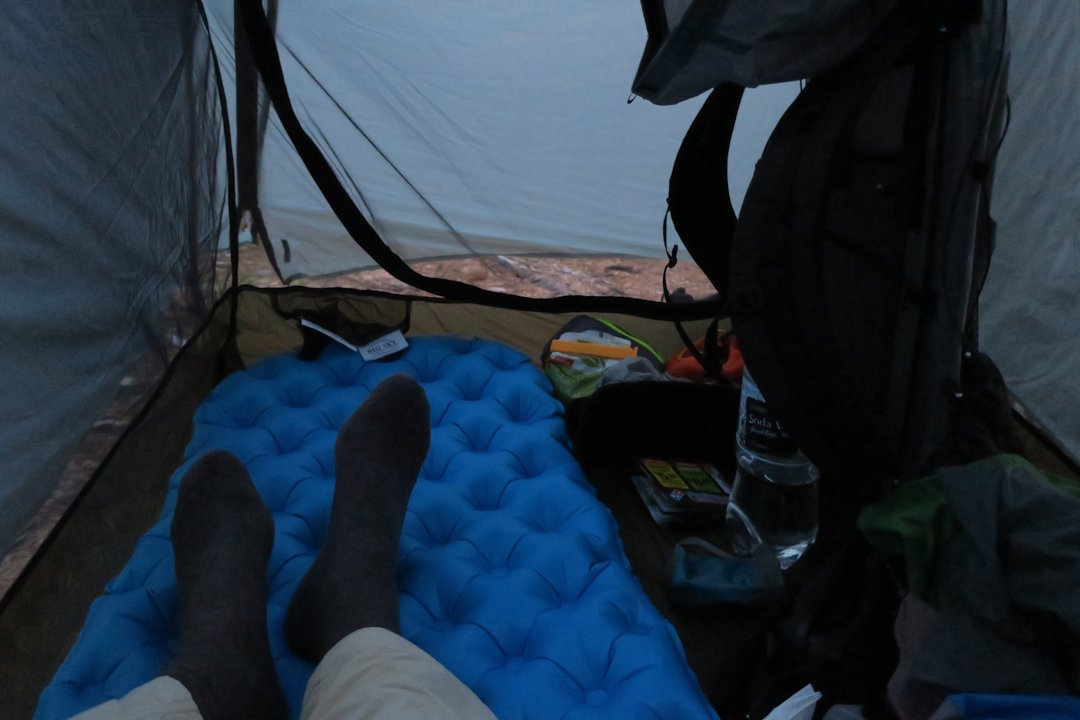
| As you can see, it is quite grainy,
but I was surprised that I got anything. It really
was getting black outside. The camera took the shot
at a shutter speed of 1/8 of a second, and lens
aperture of f2.0. Back in my late teens, I was a camera enthusiast, and I recall, a shot at such a slow shutter speed would have required a tripod. This camera has image stabilisation software, and it obviously does a good job. For comparison, I popped up the flash, and, on auto, no special settings, just took the shot. The camera this time chose 1/15 and f2.0: |
| There are special settings for
low-light and night-time photography, that I have
not yet tried. A preliminary report on the Canon Powershot G9 X is on my blog: https://bkhome.org/news/201609/considering-canon-powershot-g9-x-camera.html I wrote about the Big Sky Soul 1P tent in my field-test #2: https://bkhome.org/light/field-tests/ft2-backpack.htm I like this tent. Except as I reported before, a bit wider would be nice, and a bigger vestibule. I kept my shoes outside under the vestibule, but that is all that will fit. It was a good nights sleep, not cold, but very heavy condensation. Collecting on the outside skin only, completely dry inside. Here is a photo in the morning, the outside surface of the fly: |
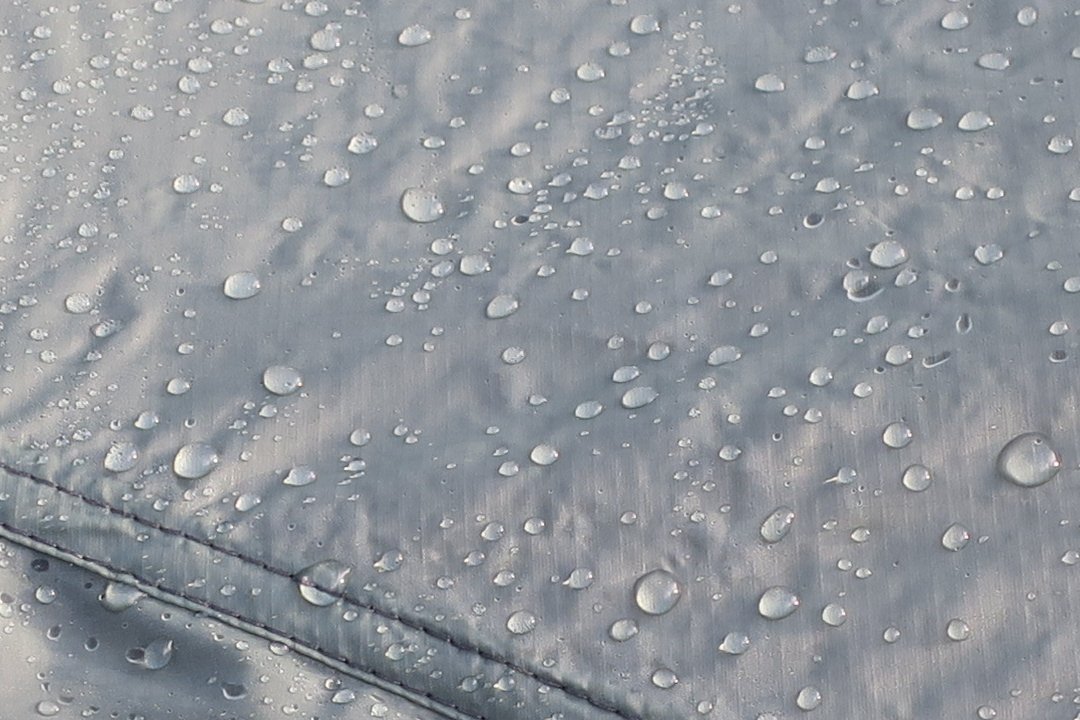
| This last photo is the original size,
a photo 5472x3648 cropped to 1080x720. All of the
photos above it, have been scaled-down to size
1080x720. Of course, you will only see them at
1080x720 if your screen has that resolution. Next day, I ambled back to Mundaring, and caught a bus home. As before, I am very pleased with the Zpacks Arc Blast, as I carried the weight without any concern whatsoever, all of the weight carried on the hips, without needing to be "pulled up". I know that 7.5Kg is considered by some to be quite light, however for me, having a very thin frame, it is a lot. Besides, I packed everything needed for a long hike, and I think those who carry 15 - 25 Kg need to rethink their kit. I had everything. Kitchen kit (including stove, small bottle of meths, pot, spoon), medical/toiletries, couple of jackets (one down, one wind), beany, hat, tent, sleeping bag, inflatable mattress and pillow, pump, tarp/poncho, electrical kit (phone, camera, UV water-purifier, mains charger, solar panel, torch). Two days of food and water. SOL emergency bivy, enclosed mozzie net for if I sleep in a shelter. No change of clothes though. You might wonder why I brought the SOL emergency bivy when I had a tent. It does have a use in very cold weather, as I place the sleeping bag inside it. The two together create a very cozy sleep on a cold night, however, there is some doubt about how well the breathability will work (so far, I have only tested it indoors, and experienced no dampness inside). Here is a review of the SOL (Survive Outdoors Longer) Escape Bivvy: http://bikepacker.com/sol-escape-bivvy/ The mozzie net is really neat. I have got to test it in a shelter in a future trip. I intend to take it with me for upcoming overseas travel. This mozzie net is introduced on my blog: https://bkhome.org/news/201606/bug-net-for-travelers.html Regards, Barry Kauler (c) Copyright Barry Kauler 2016, all rights reserved. Please do not copy this page anywhere, instead link to it. I will probably be editing it every now and again, so it is wise to link to this original page. |