Cutting frame for prototype 3
Continuing the build of solar water distiller prototype #3. Here are earlier posts:
http://bkhome.org/news/201909/cutting-grooves-with-new-router.html
http://bkhome.org/news/201909/cutting-the-solar-distiller-runoff-tube.html
http://bkhome.org/news/201909/figuring-out-how-to-cut-with-a-router.html
http://bkhome.org/news/201909/planning-solar-water-distiller-prototype-3.html
I purchased glass from Casey at Glass Perth:
http://www.glassperth.com.au/services/glass-cut-to-size/
I ordered three pieces, two are 572x672mm, and one piece is
572x630mm. I asked for "normal window glass, 3mm", however, it seems
that the glazier's idea of "normal window glass" is 4mm thick, that's
what I got. I checked, the previous order was also 4mm supplied. I don't
have calibrated calipers to measure the thickness precisely, but just
from using a measuring tape it looks like 4mm.
No problem with 4mm, probably better anyway from the strength
viewpoint. However, I had cut the grooves in the wood with a 3mm router
bit. So, a quick trip to Bunnings and purchased a 4mm straight
single-flute router bit:
https://www.bunnings.com.au/ultra-6-4-x-4mm-straight-router-bit_p6370780
Went through the grooves again with the slightly larger router bit.
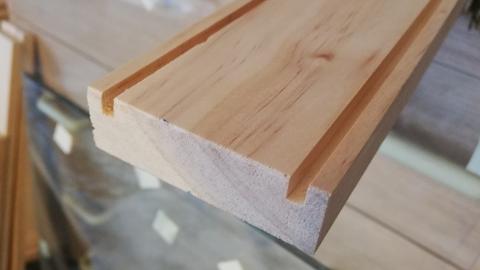
The grooves are now 4mm wide, 5mm from the edge, and 6mm deep -- I had
intended the depth to be 5mm, but the second router bit dug a bit
deeper. That's OK. An end-on photo:

The width is spot-on. The glass is a snug fit, but not too tight. I don't want the wood to be stressed when inserting the glass.
Prototype #3 is small. Mostly, I want to verify the principle of this
design, that it is significantly more efficient than #2. That remains
to be seen. It doesn't have to be big, I think, for a valid efficiency
test. Another reason that I want it small is to be able to slide it
vertically into the rear of a small hatchback car.
What I have at this point is a 3m length of pine, with two grooves
going the entire length. The pine has now to be cut for the four sides.
To do this accurately, I cut the pine into two equal-length pieces, and
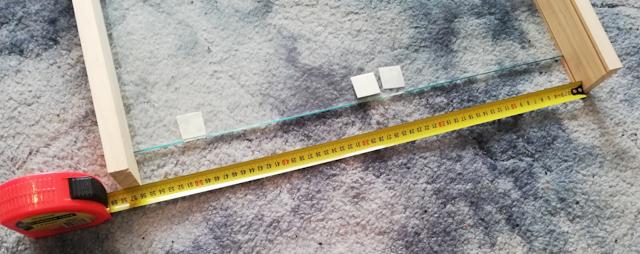
inserted both pieces onto the glass. Firstly, onto the long sides, so as
to measure the inside distance:

...that was 560mm, and I added 2mm onto that. Secondly, onto the
short sides, so as to measure the required length of the two longer
vertical pieces:

...that was 698mm, and I added 2mm onto that. Thus the two short
pieces will be 562mm long and the two long pieces 700mm long. That extra
2mm could be a tad smaller -- it is to give a bit of slack so that the
glass edge is not pressed hard against the frame when the frame is
screwed together later (though I won't actually be using screws).
The pieces were cut in a mitre-box, using a tenon saw. There is a bit
of sloppiness when the tenon saw is inserted in the mitre box, which
can cause a slight inaccuracy when cutting, maybe 0.5mm or thereabouts. I
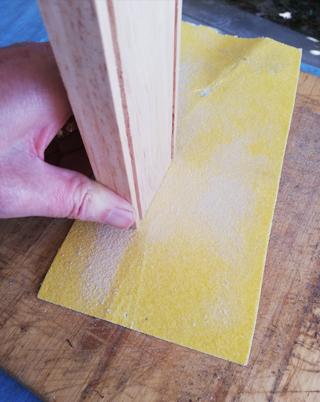
found that a good way to grind a slightly-longer piece to the same
length as the other, is to move it over coarse sandpaper, like so:

...I turn the wood around, to ensure that the grinding is not cutting
more on one side than the other. One thing that I learned, do not use a
hand file to grind the end, it will end up very uneven (that discovery was made when building prototype #1).
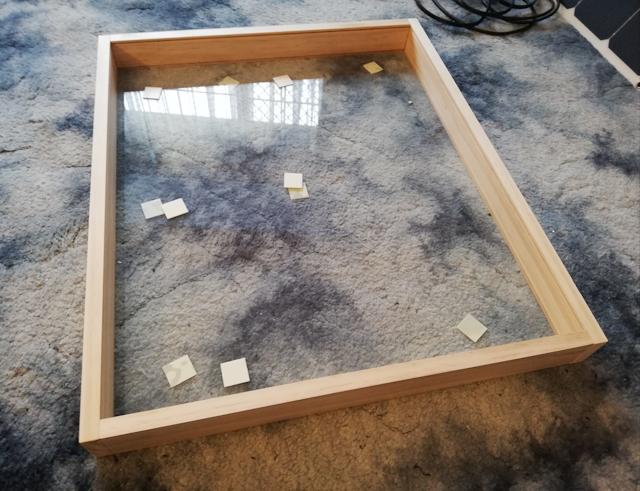
Here is the result assembled:

...yes, fits together nicely! Only one piece of glass in the photo.
In the final assembly, there will be three pieces of glass inserted,
top, bottom, and in the middle.
The next step, planned for tomorrow, is to drill round holes for the
pipes, and a groove on each of the long pieces, into which the smaller
piece of glass will be inserted.
Tags: nomad
