Tarp glueing reinforcing
Continuing with contructing TreeHugger 1P Mark-1 tarp. Here is the previous post:
https://bkhome.org/news/202105/tarp-glueing-hems-and-ridgeline.html
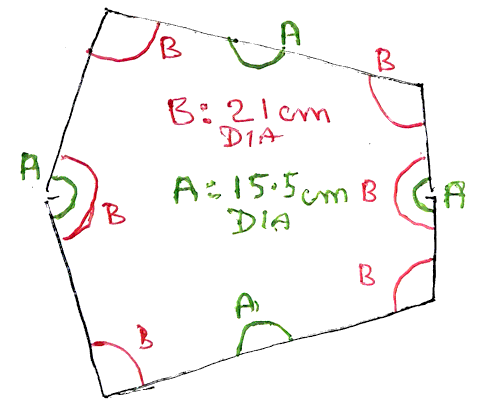
Reinforcing is to be at the tie-out points. I used the same 10D
silnylon, and two plates from the kitchen to cut circles. I cut out two
sets of circles, 15.5cm and 21cm diameter -- nothing special about those
sizes, they were what I had in the kitchen that seemed about the right
size.
Here is a sketch showing where the reinforcing is to be applied:

"A" is glued on top of "B" on the ridgeline, for extra strength.
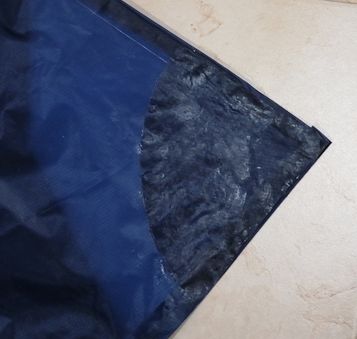
Here is one of the bottom corners:

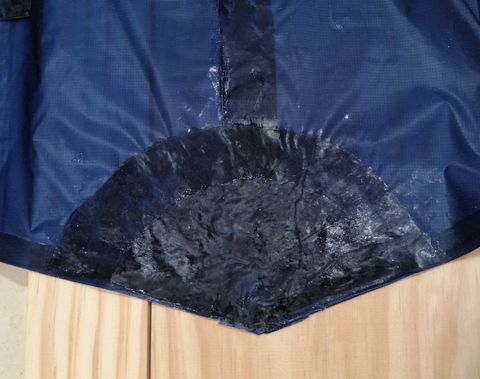
The reinforcing on the ridgeline were larger pieces, more of a
challenge to glue down. You can see the ripples, somewhat less than a
perfect job:

One good thing: it will be very easy to sew. If I decide to reinforce
with some sewing later on, won't have to grapple with two pieces of
thin slippery fabric trying to go off on every direction.
I was reading a post from someone, can't recall the link, who
glues-on reinforcing, and he said to wait several days before sewing.
The reason is, the silicone will cure quickly at the edges, but
underneath the two layers of silnylon, it will take many days to cure.
He said, if you do it too soon, it will gunk up your sewing machine --
especially around the bobbin.
Next, I will sew on the webbing tie-outs. But, oh no, I will have to wait several days! Hmmm, maybe work on EasyOS or something.
Now the really interesting bit: I have been weighing this tarp as construction progressed, and the weight is now 158g.
This is so good. I estimate the webbing and a bit of hardware, such as
cord-tensioners, will add another 15g, bringing the estimated total up
to 173g. That is just the basic tarp, but I do plan to add more
features, such as rain-baffles on each end, plus an inner mesh tent, but
I do now expect the total tent weight to be well under my original goal
of around 500g.
Tags: light
