
Simple design for a wheel-knuckle
Right from the start, I considered the wheel-knuckles of the tadpole trike, also known as the "steering knuckle" in some online documentation, as the most difficult part of the construction.
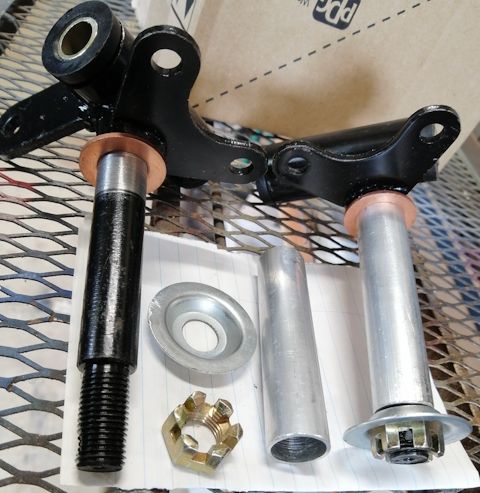
Consequently, I bought a ready-made one from AliExpress, for trike prototype #1, and modified it. Here is an earlier blog post and a photo:
https://bkhome.org/news/202406/wheel-knuckle-modifications.html
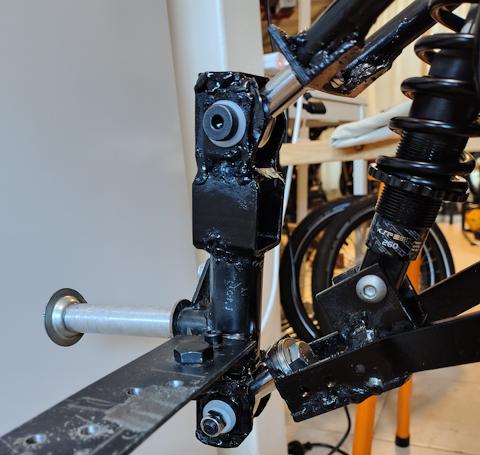
...it was heavily modified, and even more so when adapted for prototype #2; see this recent blog post:
https://bkhome.org/news/202510/tilt-and-turn-test-with-heim-joints.html
Just a couple of days ago, I had a little epiphany, how the knuckle can be constructed very simply. If I do build them from scratch, that does raise another issue, the angle of inclination.
The central column of the knuckle, also referred to as the "kingpin", actually has two different angles off vertical. It is inclined away from the wheel, and also inclined slightly backward.
The inclination away from the wheel was out of my control, as I was using a ready-made knuckle. But, it is far from optimum. This site explains that the inclination should be such that drawing a line along the axis of the kingpin should meet the centre of the where the wheel sits on the ground:
http://www.eland.org.uk/steer_intro.html
Actually, some designs place the line reaching the ground just a bit inward from the wheel. I'm not sure what the advantage is of the latter, but decided to go for it. The original knuckle has an inclination of 6 degrees, and I have designed the new one, to be built from scratch, to be 13 degrees.
The thing is, I didn't notice any problem with handling of the original knuckles when testing prototype #1, so increasing the angle to not quite reaching the wheel should be fine.
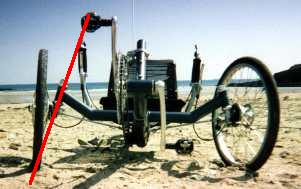
What resulted in the epiphany was after looking at the heim-joint spacers that Pedro Neaves has used in his trike:
![]()
...these greatly improve the rotation of the heim-joint by sliding into the heim-joint and using a smaller-diameter bolt. In my case, I have M10 heim-joints, and I will use M10-M8 spacers, requiring an M8 bolt.
For the record, I am using stainless steel heim joints, though there are much cheaper ones available:
https://www.aliexpress.com/item/1005008352915515.html
Also I have ordered these special spacers from here:
https://www.aliexpress.com/item/1005008570663276.html
The reason for the epiphany, is the heim-joint has a width of 14mm and the spacers each add 6mm, so a total width of 26mm. Bunnings (here in AU) has 30x30mm square steel with 2mm wall thickness -- hey, a perfect fit!
I then progressed with the thought process, how a short length of 30x30 square steel can be put together into a complete wheel-knuckle. Drawn in SolveSpace:
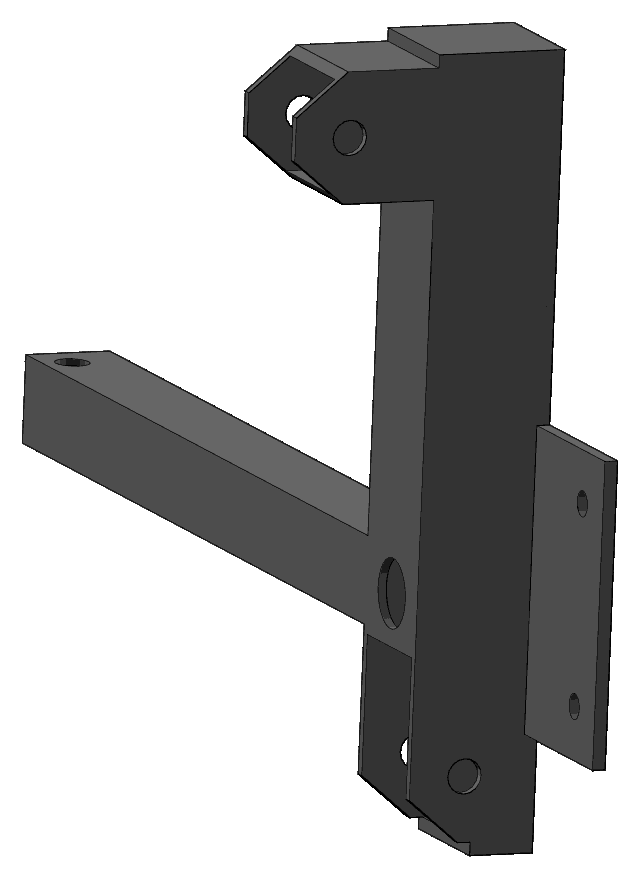
...looks a bit complicated with things sticking out everywhere, but actually incredibly simple to build.
I will post the details when construct it, but for now, just the basic idea...
In earlier blog posts, I reported about finding suitable wheels. The two on prototype #1 have 20mm diameter through-axles, which are wheel hubs off premium mountain bikes. Looking in my collection of steel and aluminium extrusions, I have an aluminium tube of 20mm OD and 16mm ID. OK, so have placed an order for a steel tube of 16mm OD and 5mm ID (5.5mm wall thickness), from here:
https://www.aliexpress.com/item/1005007899375320.html
...it might need a slight trim on a lathe to slide into the aluminium tube.
Note, the reason that I chose 5mm ID, it that is perfect to tap a
m6 thread, for a washer on the outer end for keeping the wheel on.
What I will do is drill 16mm holes in the 30x30 square steel, as can be seen in the above drawing, and weld it in place.
On the top of the "kingpin", there is another short piece of the 30x30 steel, welded on. 8mm holes are drilled, at top and bottom, so as to achieve the 13 degree inclination.
There is another pieced welded on for attaching the brake caliper, and 20x20 mm square steel (also from Bunnings) for the steering linkage.
The great thing about all of this is that there are no strange angles to worry about. Everything is 90 degrees. Just lay the pieces together and tack weld.
So, I intend to rebuild the wheel-knuckles, and as the
inclination is different, will also have to rebuild the top
swing-arms.
Tags: light