
Distiller DIY assembling the frame
I posted yesterday, the start of constructing the simple
basin-type solar water distiller, for which it is intended to publish
DIY plans:
https://bkhome.org/news/201912/start-of-diy-plans-for-solar-water-distiller.html
Today I cut the pieces for the wood frame, and screwed them together.
I mentioned yesterday that the frame could be cut with just a
handsaw. However, I mostly used a rotary (circular) saw, as this made it
easier to cut nice straight lines, and vertical cuts -- what I mean
about "vertical cuts" is when cutting the wood want the cut to be 90
degrees to the plane of the wood -- I have trouble with this with a hand
saw, usually end up with a slight slant to the right.
Of course, it would be nice to have a wood-working bench, but as I
only have a table, have to improvise. For example, this is the setup to
cut across the 235x19mm pine:
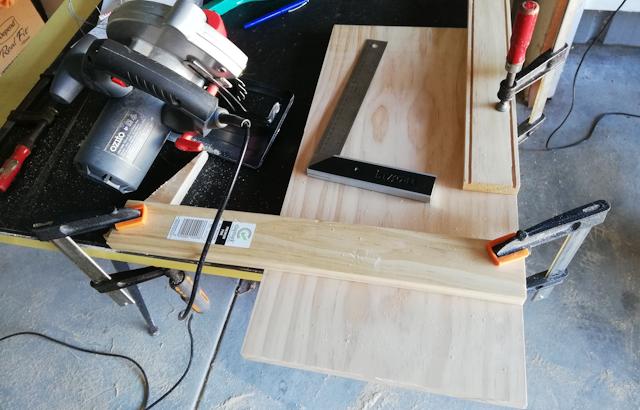
...three g-clamps were used, and the metal square is extremely
helpful. I quickly learnt exactly where to put the wood guide for the
rotary saw to cut along the desired line.
There were five pieces cut, and I put four of them together on the table prior to screwing:
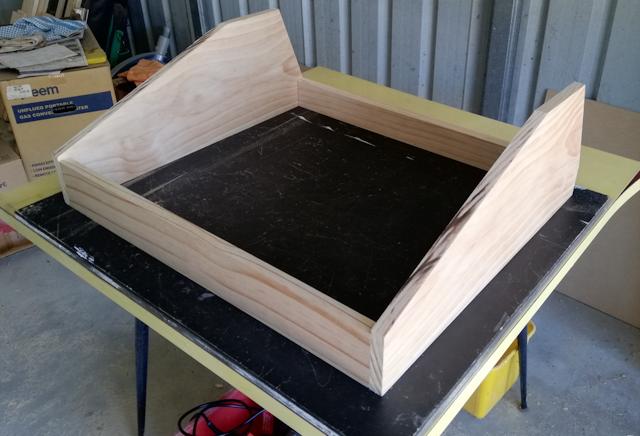
...that is of course upside-down.
When constructing the previous prototype, I used some silicone
sealant to hold the corners in-place and left it to set overnight, then
screwed it the next day. I received an email from Rick about this:
With regards to holding the sides together for screwing. You could just use a block of wood, or even the thicker side of a set square, together with two clamps (G or sliding), align until satisfied and screw together. No waiting for silicone to dry.
Yes, I did one corner with two g-clamps, after that used just one clamp, like this:
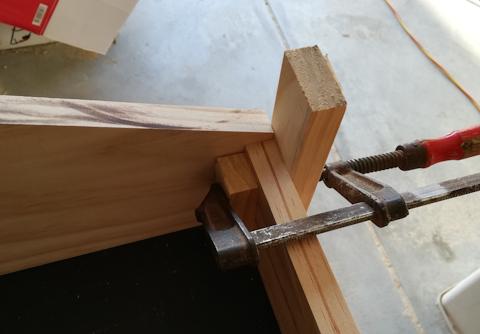
...that provided enough alignment, and used one hand to press the corners together and the other hand to hold drill. Worked OK.
Regarding the insertion of the screws, I have watched those house
restoration shows on TV, where they just bung the screws in, no
pre-drilling. Well, I pre-drilled. I do this from prior experience with
MDF, that de-laminates very easily. Pine is much better, however as
screwing into the end of the wood, I decided to play-safe and pre-drill.
I used 6G 40mm countersunk zinc-plated wood screws. I firstly drilled
the full 40mm depth with a 2.5mm drill bit, followed by a 3.5mm drill
bit drilled only 19mm deep (I put a pen mark on the drill bit to get
this right). Finally, used a 7mm drill bit, held by hand, to gouge for
the countersunk head.
Todays shopping list, from Bunnings:
| 6G 40mm, zinc countersunk wood screws, 25 pk |
AU$3.98 |
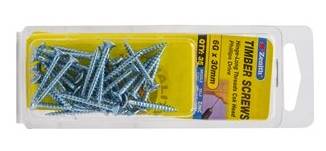
| 6G 30mm, zinc, countersunk wood screws, 25 pk |
AU$3.98 |
...one small detail, the Zenith 40mm screws have recently been rebranded as 38mm.
EDIT 2020-01-11:
A clarification: the screws I used are self-tapping wood screws,
actually designed to be used without pre-drilling in soft wood. Example
link:
https://www.bunnings.com.au/zenith-6g-x-30mm-zinc-plated-hinge-long-threads-countersunk-head-timber-screws-35-pack_p2420068
The five pieces are now screwed together. Tomorrow, the plan is to install a mounting frame for the plywood floor.
Tags: nomad