Bottom tie-outs and tarp completed
Here is the previous post, in this "TreeHugger 1P tarp Mark-1" project, making the ridgeline tie-outs:
https://bkhome.org/news/202105/tarp-ridgeline-tie-outs.html
Today I sewed on the tie-outs along the hems. That is, the four corners and the middle of the sides.
I used the same webbing as before, nylon, just 10mm wide and 0.5mm thick:
https://www.aliexpress.com/item/1005001666741572.html
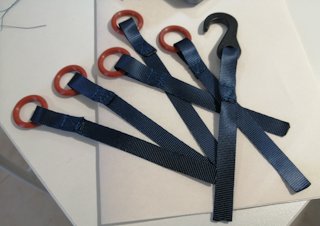
Cut these pieces, 16mm long, folded over about 35mm and sewn, with
rubber o-rings, and one of them has a hook. The one with the hook is
folded over a bit more so that the hook is the same distance from the
tarp as the o-rings:

The length of this webbing is a matter of personal preference, how
high you want the tarp hem off the ground, and of course longer webbing
will make the tarp wider when erected.
Note, when I cut the nylon webbing, I also use a flame to cauterize the ends. Important, otherwise the ends can unravel.
The o-rings are silicone rubber, 25mm OD, 4mm thick. They feel strong
enough, however for future projects I intend to use o-rings made with
EPDM rubber, as it is stronger than silicone rubber. Note also that EPDM
is UV resistant. A cheaper rubber is NBR, and this is not UV resistant.
This is what I have on order, 25mm OD, 4mm thick:
https://www.aliexpress.com/item/1005001631629585.html
The plastic hook in the above photo is a bit bigger than I wanted, so
I ordered a smaller size. These are 3.6cm overall length, just what is
needed:
https://www.amazon.com.au/gp/product/B08P14TWG1
They arrived after the initial writing of this blog post, and I
swapped for the smaller hook. The EPDM o-rings also arrived, but will
keep the silicone rubber ones on the tie-outs -- the EPDM ones can be
for mark-2 tarp.
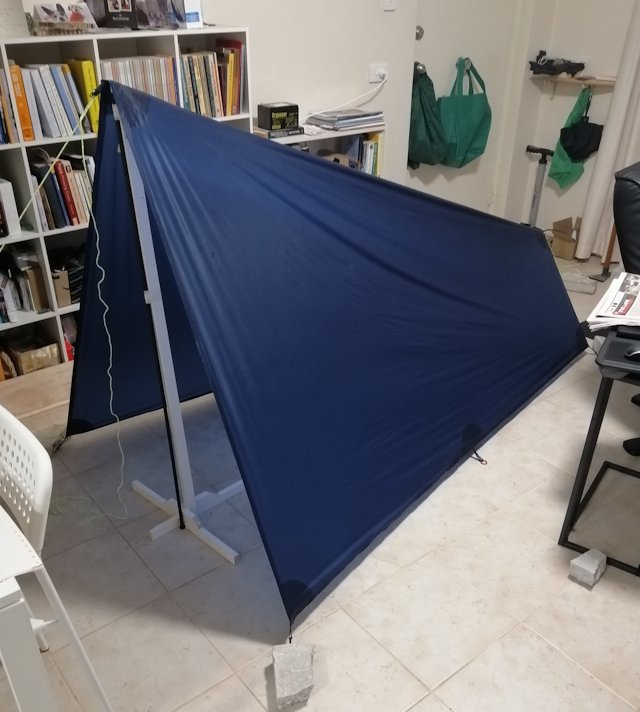
Sewed the tie-outs on, with my newbie wonky sewing, and erected the tent in my lounge room:

The wooden frame is my "dressmaker's dummy", to make it easier to construct the inner-tent while inside the house.
The tie-out with the hook is front-right, as the tarp is intended to
become a step-in and step-out tent, with zipper entry to the inner tent
on the side.
Those o-rings are intended to go over stakes, and in the case of the
hook, it will hook onto an o-ring. That is a detail that will become
apparent when the inner components of the tent are constructed. For now,
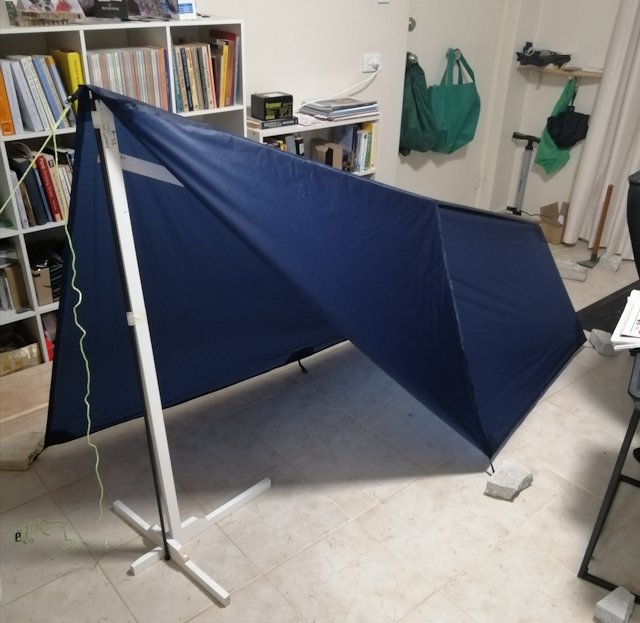
we only have the "stage 1" of the tarp, but still, you can see how the
hook can be unhooked from the o-ring and folded over the ridgeline:

Actually, even at this stage, the side flap is useful. If the
high-end was tied to a tree trunk, the pole not used, the side flap is a
convenient way to get in and out.
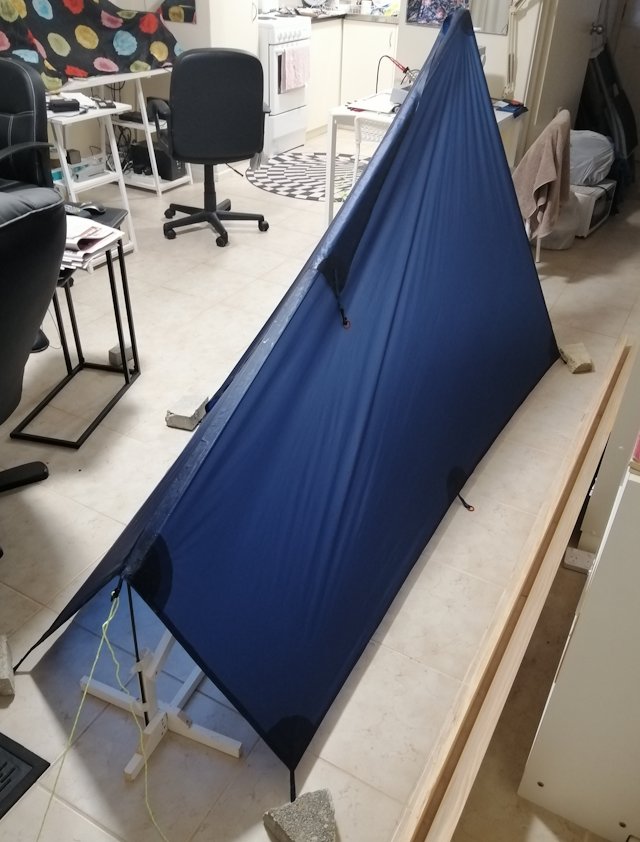
Here is a rear view:

Now for the really interesting bit, what this tarp weighs. Wait for it...
Weight of tarp: 178g
Or, in Imperial measurements, 6.3 ounces. That is good.
What is planned next, is baffles for front and maybe on the low-end.
The baffles are intended to facilitate exact spacing for the stakes, and
to hold the o-rings firmly at ground-level -- so they will be less
likely to be pulled up when wind blows on the tarp.
Planned erection procedure is you would stake out the tarp, with 4
stakes, then tie up the ends, with or without poles. I plan to use this
without a high-end pole, as then the high-end ridgeline tie-out can be
pulled up and tied to a tree, no need to have tension adjusters on the
ground-level stake tie-outs. Of course, if you have a trekking pole, the
length can be adjusted, so again, no tensioners required at the stake
tie-outs.
The same principle holds for the low-end, but I will probably use the
pole, as it might be difficult to locate a branch to tie to. Well,
could use a stick, maybe with v-notch to run the cord over.
The front and rear baffles will also offer rain protection, and will have openings for ventilation.
These are future plans, but the tarp as constructed so far is quite
useful. I cannot tell you how sturdy it is in windy conditions, as so
far it hasn't been out of the house.
Tags: light
