
Glued ridgeline of TreeHugger Mark-3
Continuing the Mark-3 glued-tent project, here is the previous post:
https://bkhome.org/news/202108/finished-glueing-hems-for-treehugger-mark-3-tent.html
Next-up is to glue the ridgeline of the tent. This joins the two
pieces, with 2cm overlap. That 2cm is nominal. I used a spreader tool,
an approximately 14cm long aluminium channel, 2cm outside-width with
1.5mm wall thickness:
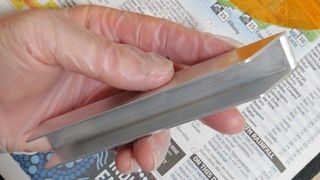
...so only spreads the sealant as a thin film 1.7cm wide. So I
overlap the two pieces of silnylon a tad under 2cm. Anyway, when the
seam roller is run over the join, the sealant spreads a little bit.
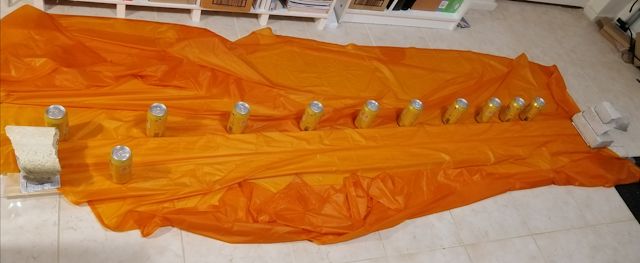
The ridgeline is curved, so the two pieces need to be arranged so
that the ridgelines are straight, with 2cm overlap. So when I glue, both
pieces will already be in place, and the top piece will just flop down
into the required position. I used concrete blocks to hold the ends
firmly in place:
Glued along the ridgeline, just doing about 20cm at a time, and it
came together OK. One point to note, I made chalk marks about 20cm apart
beforehand, as a guide to how far to glue. So, apply glue, spread, let
the top piece fall onto the bottom piece. There was of course a
chalkline running the entire length of the bottom piece, 2cm from the
edge.
Because of those blocks on each end, had to wait until the ridgeline glue had cured, then glued the ends.
An important detail: in the above photo, you can see that I used a
wood plank. What I also did was place cling-wrap the full length. This
is because some sealant will bleed out of the overlap underneath.
Silicone sealant does not stick to cling-wrap.
Now for some advice on what not to do...
I thought that it would make glueing easier if I constructed a frame for the tail end, this thing:
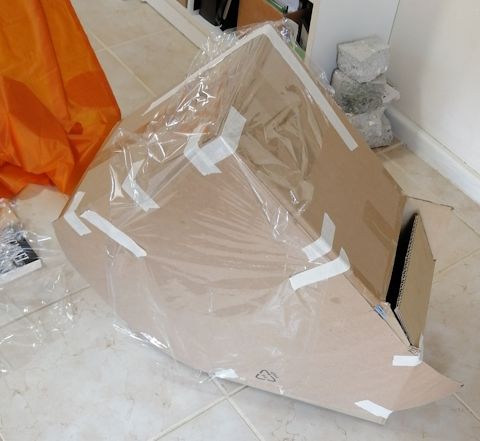
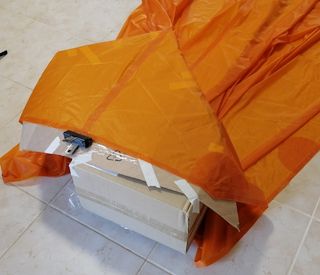
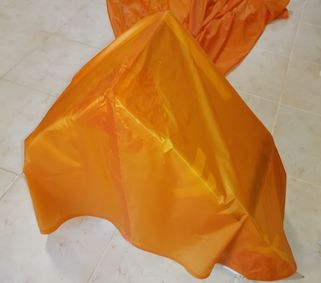
The tail-end of the tent has two flaps that have to be glued
together, which I did, using the cardboard-box-thing to hold everything
in place:
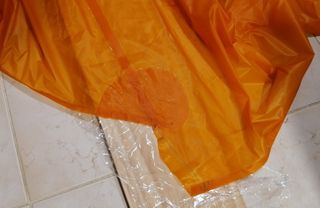
So far, ok, then cutout the reinforcing for the tail-end:
And glued it on:
...which is where things went a bit wrong. Ended up with some wrinkles, on both sides.
Glueing on the reinforcing pieces is tricky enough when doing it on a
flat horizontal surface. The cardboard-box-thing made it very
difficult.
So, if I had to do it again, I would glue on a flat horizontal
surface. Glueing the two end-flaps together could have been left to
last. Lesson learned.
At the high-end of the ridgeline, glued another piece of reinforcing:
I have been keeping a tally of the weight as the project progressed.
The previous weight, having glued the hems and reinforcing on the hems,
is 229gm.
I filed the 2cm spreader tool so as to spread a slightly thicker film
of glue, compared with the 1.5cm spreader used for the hems. I reasoned
that the ridgeline is going to be subject to most stress, so be
generous with the glueing.
The weight, having glued the ridgeline and reinforcing on each end, is now 251g, up by 22g.
The next step will be to attach the tie-out webbing. However, instead
of sewing on webbing as I did for Mark-1, I am thinking of going for an
entirely glued tent, no sewing at all. Up until now, I thought that the
high stresses at the webbing would require sewing, but rethinking it...
anyway, stay tuned.
Tags: light