Milo Stove: final assembly and first test
This is post #6. The previous post in this Milo Stove project:
https://bkhome.org/news/202308/milo-stove-making-some-small-parts.html
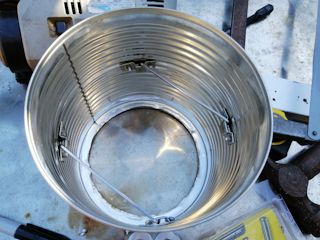
I decided to use a barbecue skewer on which the pot will sit:

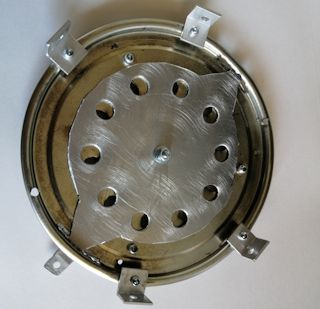
Here is the variable air intake, viewed from underneath:

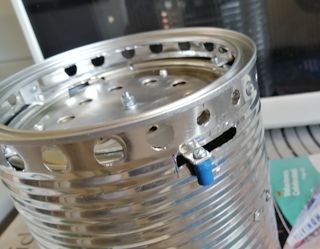
Assembled in the Milo tin:

...those holes around the base of the Milo tin were drilled with
a step-drill bit. These were recommended by a guy on YouTube, who
explained that ordinary drill bits tend to cut jagged holes in
thin sheet metal, whereas a step-drill bit drills nice holes. Yes,
he is right! I also received an email from Rick advising me how
good step-drill bits are.
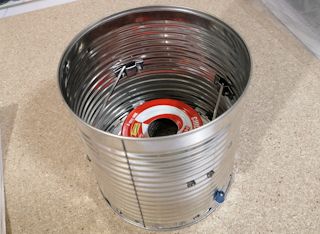
Ready to go:

Boiled 500ml water in 4 minutes and 30
seconds, very vigorously boiling at 4 minutes and
45 seconds. That is incredibly fast, which is actually not good.
Well, not what I want anyway.
Reducing the air intake did not reduce the flame as much as expected; it was still fierce. So, could not achieve simmering.
This has been a lesson, and I am understanding the dynamics better. There is too much heat feedback and the alcohol is boiling too fast; reducing air intake does not reduce the alcohol boiling as expected. The Milo tin is too much of an enclosed environment.
I'm getting a clearer picture of how to improve the design. And, getting more of an appreciation of those guys who spend years developing various alcohol stove designs. Which reminds me; forum member ally sent me a couple of links to these guys who tinker with designs for years:
https://www.youtube.com/@MrHiramCook/videos
https://www.youtube.com/@tetkoba/videos
So, back to the drawing board!
Tags: light
