Milo Stove: making some small parts
This is post #5 of the Milo Stove project. Post #4 is here:
https://bkhome.org/news/202308/milo-stove-drilling-the-lid.html
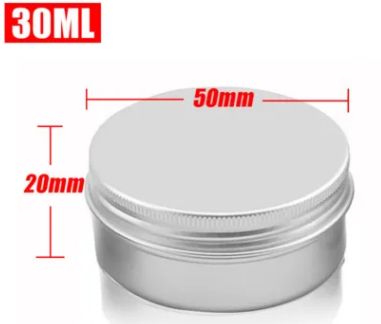
I am using the Speedster burner, but intending to make my own. So have purchased five of these little 30ml aluminium cans (from eBay):
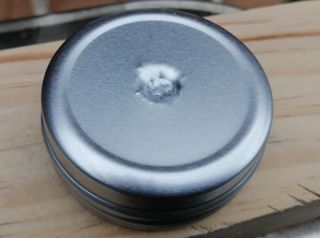
The burner will have to sit right on top of a bolt-head, so I indented the underneath like this:
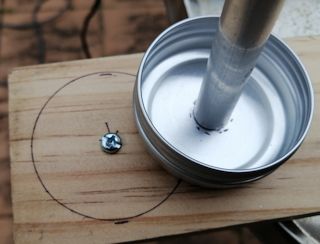
...used some aluminium tube, then hammered it, to get this indent:
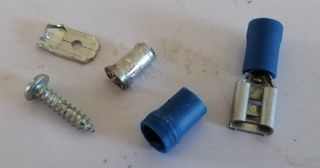
The rotating disk underneath the burner, that will throttle the air-flow, will have a little handle outside of the Milo tin, so as to control the throttling. I am using a small screw and part of a spade terminal. The plastic insulation on spade terminals withstands high temperatures. The screw is small enough so as to be able to forcefully screw into the end of the spade terminal (where wire is normally inserted):
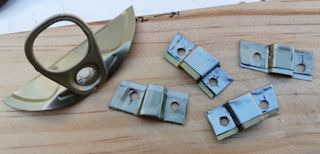
The mesh stand that I previously constructed, on which the pot will sit, will probably not be in the final stove. Instead, there will be a grill of some kind, mounted onto the sides of the Milo tin. I used the ring-pull tops of baked-beans tins to create these mounting brackets:
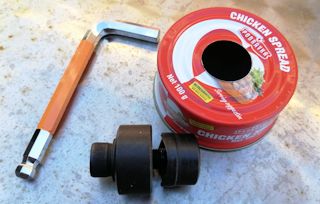
Used a 25mm chassis hole-punch to cut a very neat hole in the chicken-tin:
Did a preliminary burn test, and the flame was not coming out through the hole, so used pliers to widen the hole. The result is not neat, but the flame came out very nicely, perhaps a bit too much:
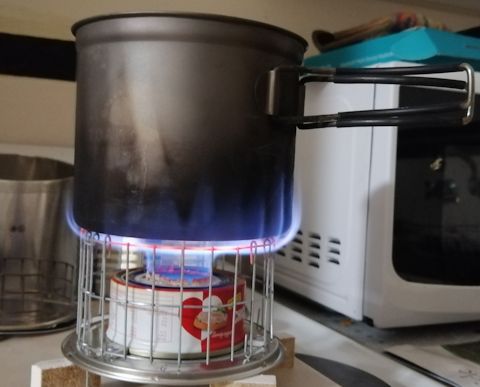
The Packafeather stove has a 27mm - 27.5mm diameter hole, so
perhaps that is the magic size.
The metal is a bit brittle; could not work it out wider, it tended to break. So might purchase a slightly bigger hole-cutter. Or maybe try a stone grinding wheel to widen the hole a little bit. So, looks like back to Coles tomorrow, to purchase another chicken-spread tin.
As mentioned, will probably not use the wire-mesh pot-stand shown in the above photo. The grid on which the pot sits could be the fan-grill as shown in post #1, or could use stainless steel skewers. Bought these from Coles:

Have other things to do for the next couple of days, but will get
back to this project soon.
Tags: light
