Install auxiliary solar panel in custom trike
Continuing the solar-assisted custom recumbent tadpole trike project, I am now at the stage of outfitting it for a proposed first tour. The previous blog post in this project, introducing the auxiliary solar panel:
- Testing auxiliary solar panel with custom trike — December 30, 2024
The challenge was to find somewhere to put it on the trike. The folded panel is 340x525 mm, which is just right, and the reason why I chose this particular panel. Pop-riveted some angle for it to sit on:
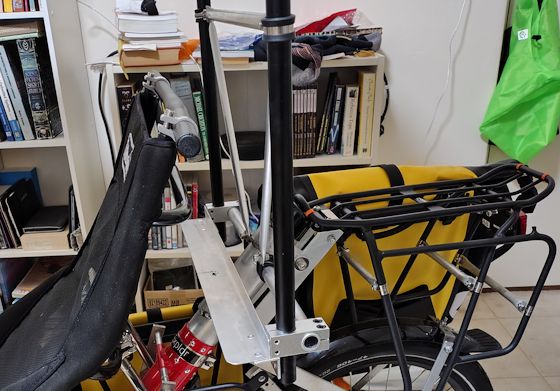
...however, had to remove the head-rest, which solved one problem but introduced another. If I had the forethought that an auxiliary solar panel had to be accommodated, back when designing the trike framework, could have placed those vertical black poles supporting the overhead solar panel back a bit. But, have to live with the current situation and remove the head-rest.
The auxiliary panel fits nicely:
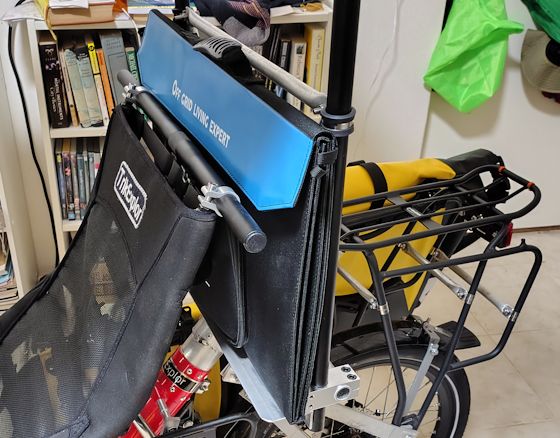
There are constraints above and below. Below, there are panniers that require sufficient room to open and put stuff in and out. And above, there will be a relocated head-rest; also the eye-height must be above the auxiliary panel for looking backwards.
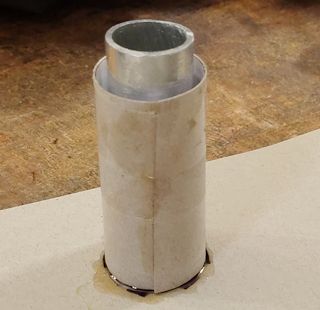
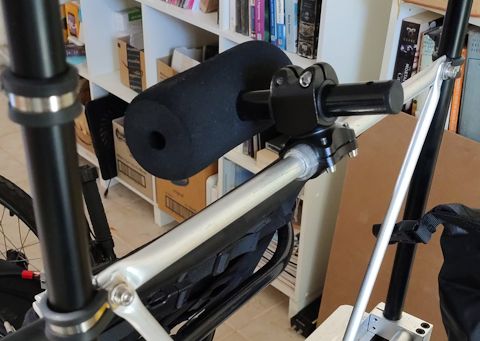
There is aluminium tube just behind the auxiliary panel, to which the head-rest will now be attached; however, the diameter is too small. Needed to manufacture a "pipe-shim", and it just so happens that I have a very short piece of aluminium tube with ID that matches; just need to bulk it out to the required OD. Manufactured the shim with epoxy resin:
 |
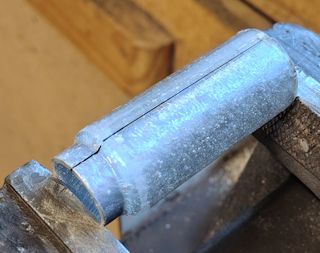 |
...two concentric rings, tipped-in epoxy resin, afterward cut it down the middle with a hacksaw. Note that I used "Utility" brand epoxy from Bunnings, as it is very slow setting. Also considerably cheaper than the other brands. Needs to be mixed thoroughly beforehand, and sets very hard. This Utility product does have a downside; it leaks after usage:
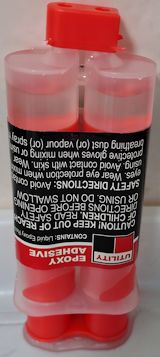
...24 hours after usage, a puddle is forming. Lots of complaints about this on the Bunnings website. I haven't tried storing it flipped with nozzles at bottom.
Anyway, here are the two pieces of the shim:
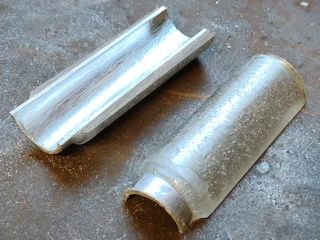
...why not make the shim entirely out of epoxy? My reasoning at the time is the aluminium inner makes it easier to grip in the vice, for sawing in half. Yes, that went well.
Wrapped a couple of layers of wide electric tape around the aluminium tube, to give the shim something to grip onto, then mounted the head-rest:
The auxiliary solar panel fits nicely:
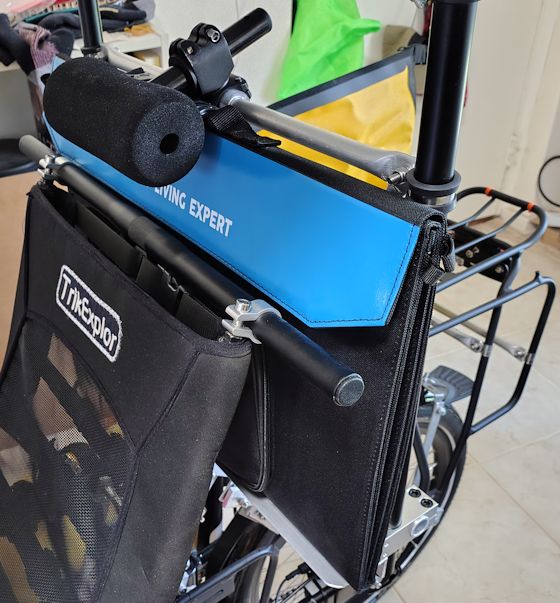
...there is also enough room in front of the solar panel for the extension cable. I've got a 5.5 metre length that fits in there nicely also. Using "6mm auto" cable, described in blog posts in 2020:
- Cable and soldering guidelines — April 27, 2020
- Cable sizes for battery camping system — April 11, 2020
Tomorrow, intend to build a box to sit on the rear luggage rack.
It has to be narrow, so that the panniers either side can be fully
loaded.
Tags: light
