
Meanderer front suspension plates assembled
Continuing the Meanderer trike project. An earlier post showed construction of the front suspension plates:
- Meanderer trike front suspension plates — March 19, 2025
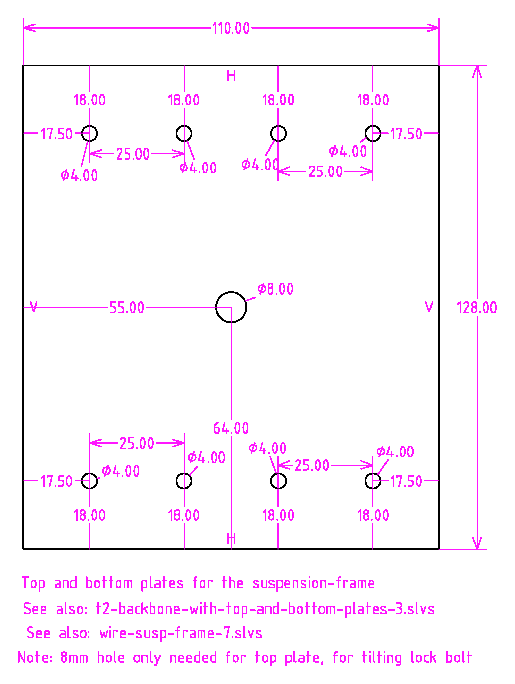
Those plates are going to slide onto the 50x50x3 square tube, that is the backbone of the trike. The plates assembly will have top and bottom plates; see drawing:
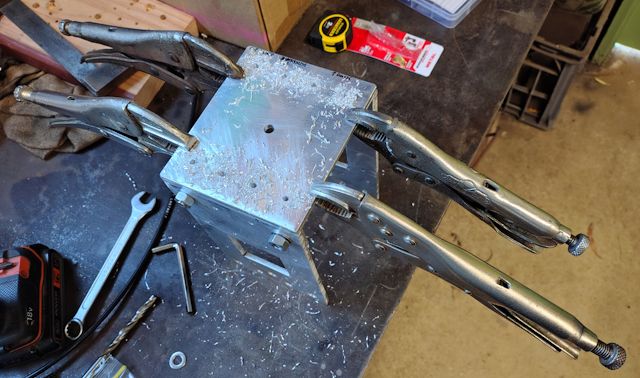
Used 25x25x3 angle to bolt the plates together. Carefully held while drilling holes:
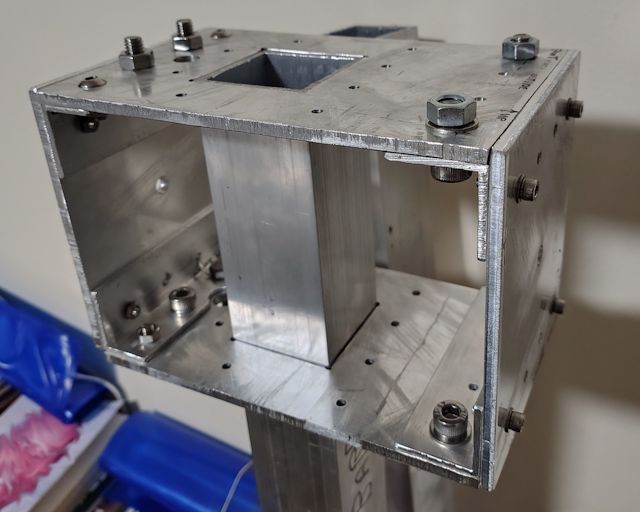
Assembled, held together temporarily with bolts, checking that it is all symmetrical and slides over the square tube:
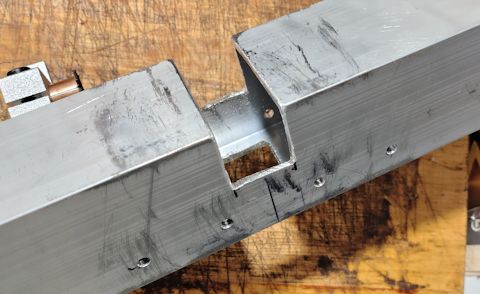
This framework will slide down to a cutout section of the square tube. The cutout is for implementing the leaning mechanism; if you don't want leaning, then no need for this cutout. The earlier blog post linked-to above, shows dimensions of the cutout; two of them actually.
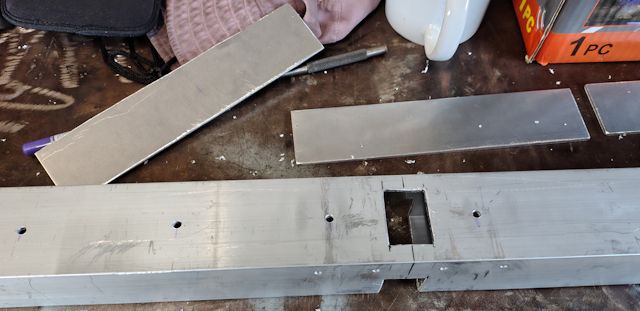
I marked out the cutouts, then drilled some holes as starting points for the jigsaw:

...used a triangle file to create more space to insert the jigsaw blade; however, that is not really necessary. A round hole big enough to insert the blade is all that is required. Here are both holes cutout:
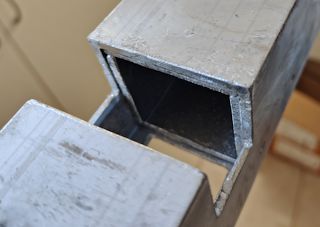
Obviously, these cutouts have seriously weakened the backbone, so the suspension-frame assembly is going to have re-strengthen it.
The square tube has a wall thickness of only 3mm. Components of
the tilting mechanism are going to be bolted to the underneath
side of the square tube, screwed on with m5 or m6 bolts. There
will be threads tapped into the square tube, but the wall
thickness of only 3mm will not be an adequate depth for the
thread. So, decided to insert plates inside the square tube; photo
of plates before insertion:
The plates are 200x43.5x3 mm. I drilled 4mm holes in the square tube, with the idea of pop-riveting the plates in place. However, holding them in place while pop-riveting is tricky, so instead decided to glue them in place with epoxy resin -- which I have done today.
Note, inserted one of those plates going toward the front of the
trike, the other two toward the rear. Bit tricky inserting the
third one; it probably isn't needed anyway.
Tomorrow will drill the 4mm holes and permanently hold those plates in place with pop rivets. Should not have drilled those holes beforehand, as wanted a very flat surface on which to epoxy the plates. Anyway, it is OK. Reiterating; those plates are on the inside.
Tomorrow, might epoxy a couple more plates on the top-inside; will post about that.
Have not done much on the Meanderer trike project for the last couple of weeks due to the eyelid operation. But on the mend, so have started going to the Men's Shed again and progressing with the project.
Here are the SolveSpace files for side and top and bottom plates (gzip compressed):
https://bkhome.org/news/202504/images/wire-susp-frame-7.slvs.gz
https://bkhome.org/news/202503/images/wire-susp-frame-top-and-bottom-plates-1.slvs.gz
Onward ho!
EDIT 2025-04-11:
Cutout plates for the sides and top also, each about 70mm long.
Here they are glued in:
I used a two-part epoxy from Red Dot, a chainstore in Australia. It sets super-fast, tacky in about a minute, despite the packaging claiming remains usable for 5 minutes. Hmmm, can't find it on the Red Dot website -- the one I bought is two separate 12.5ml tubes. Very much prefer slow-setting resins.
Tags: light