Wiring-board installed in powerbox
In the previous post, I wrote about some compromises when wiring-up the wiring-board:
https://bkhome.org/news/202004/reflections-on-construction-of-the-wiring-board.html
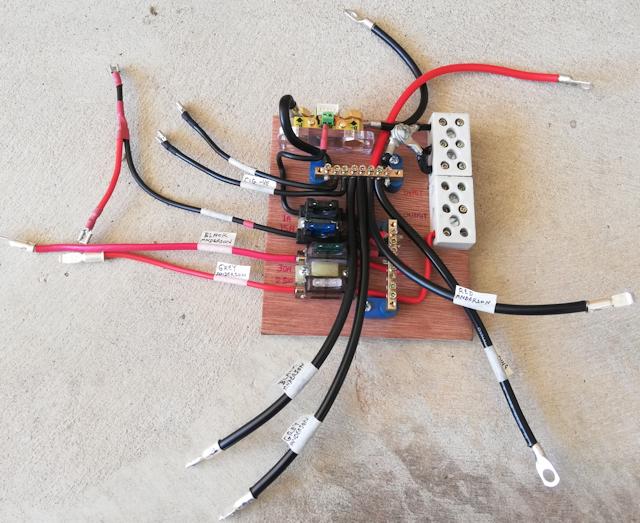
Now for some photos showing the wiring-board installed. Firstly, here is the wiring-board all ready to be installed:

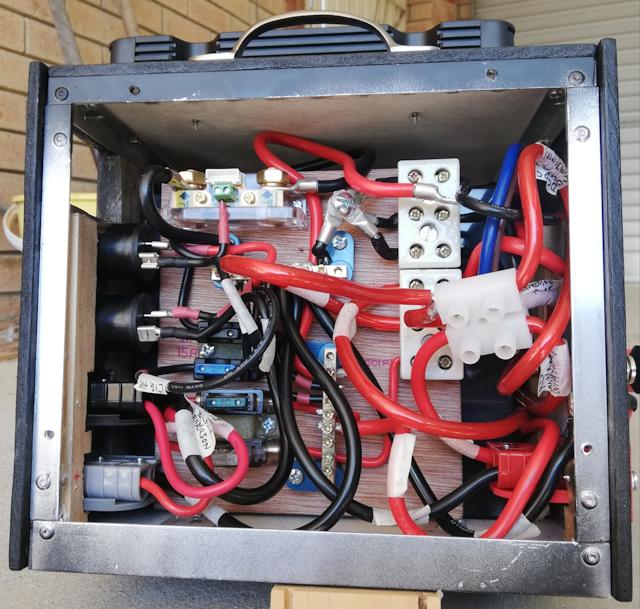
And here it is installed:

...quite crowded, but more so because of that extra terminal block.
The previous post discussed how that could have been improved, with a
distribution bus mounted on the wiring-board -- there is some space
bottom-right of the board.
I also discussed in the previous post, the limited space to access
the battery terminals. The unconnected eyelet lug in the above photo is
waiting to be bolted to the battery positive terminal. I managed, just,
and solutions to obtain better access are mentioned in the previous
post.
EDIT 2020-05-02:
Both of these problems, battery terminal access and messy floating terminal block, have been fixed. See this later blog post:
https://bkhome.org/news/202004/dc-dc-charger-issues-and-powerbox-improvements.html
Tags: nomad
